How to develop heavy Jupyter Notebooks using the Remote development feature of PyCharm.
Preface
Python and Jupyter notebooks are the de facto tools of data research. When working with large datasets, like backtesting data for trading, you might need to run Jupyter Notebooks that are too heavy for your local laptop. Reasons, why your local computer cannot run a notebook, may include:
- The laptop CPU is too slow
- You do not have enough network bandwidth to download datasets, or it would take hours or days
- The laptop does not have enough RAM to fit the dataset in memory
- You need to use GPU farm or similar
- You need to use a different operating system (Linux) to run the notebook
In these cases, you can run your Jupyter Notebook code on a remote development server.
PyCharm is a Python IDE from Jetbrains. They offer a free community version and a professional version. Remote development comes with license restrictions and may only be available for the professional version.
Unlike Visual Studio Code, PyCharm can manage remote Jupyter Notebook kernels directly from the IDE. Whereas Visual Studio Code can connect to a remote Jupyter Notebook kernel, it cannot run it using its Remote Development feature.
Setting up remote server
Get a Linux cloud server with some supported operating system like Ubuntu 20.04 or Ubuntu 22.04.
- Set up the new operating system installation.
- Create a new non-root user for remote development, as Jupyter notebooks do not work as the root user. The easiest way to do this is this one-liner which also configures the authorised SSH key for the user.
- Make sure you have created a local SSH config file for SSH agent forwarding, as you are likely to need this for remote git checkouts and commits.
- You might need to configure fs.inotify.max_user_watches for your operating system so that PyCharm has enough handles to watch file changes on the remote server. You need to run
sysctl --system/etc/sysctl.conf. - SSH in the server with your personal user. Create a development folder e.g.
/home/mikko/my-projecte.g. by doing git checkout in SSH sessiongit clone [email protected]:tradingstrategy-ai/example.git - If your Python working environment is Poetry based, you need to install
poetryfor your local user as Poetry installations are per user. E.g.curl -sSL https://install.python-poetry.org | python3.10 -. After the Poetry installation, you need to your~/.bashrcas well.
Starting remote development with PyCharm
- Start local PyCharm. Choose File > Remote development.
- Enter your server details and choose your working folder
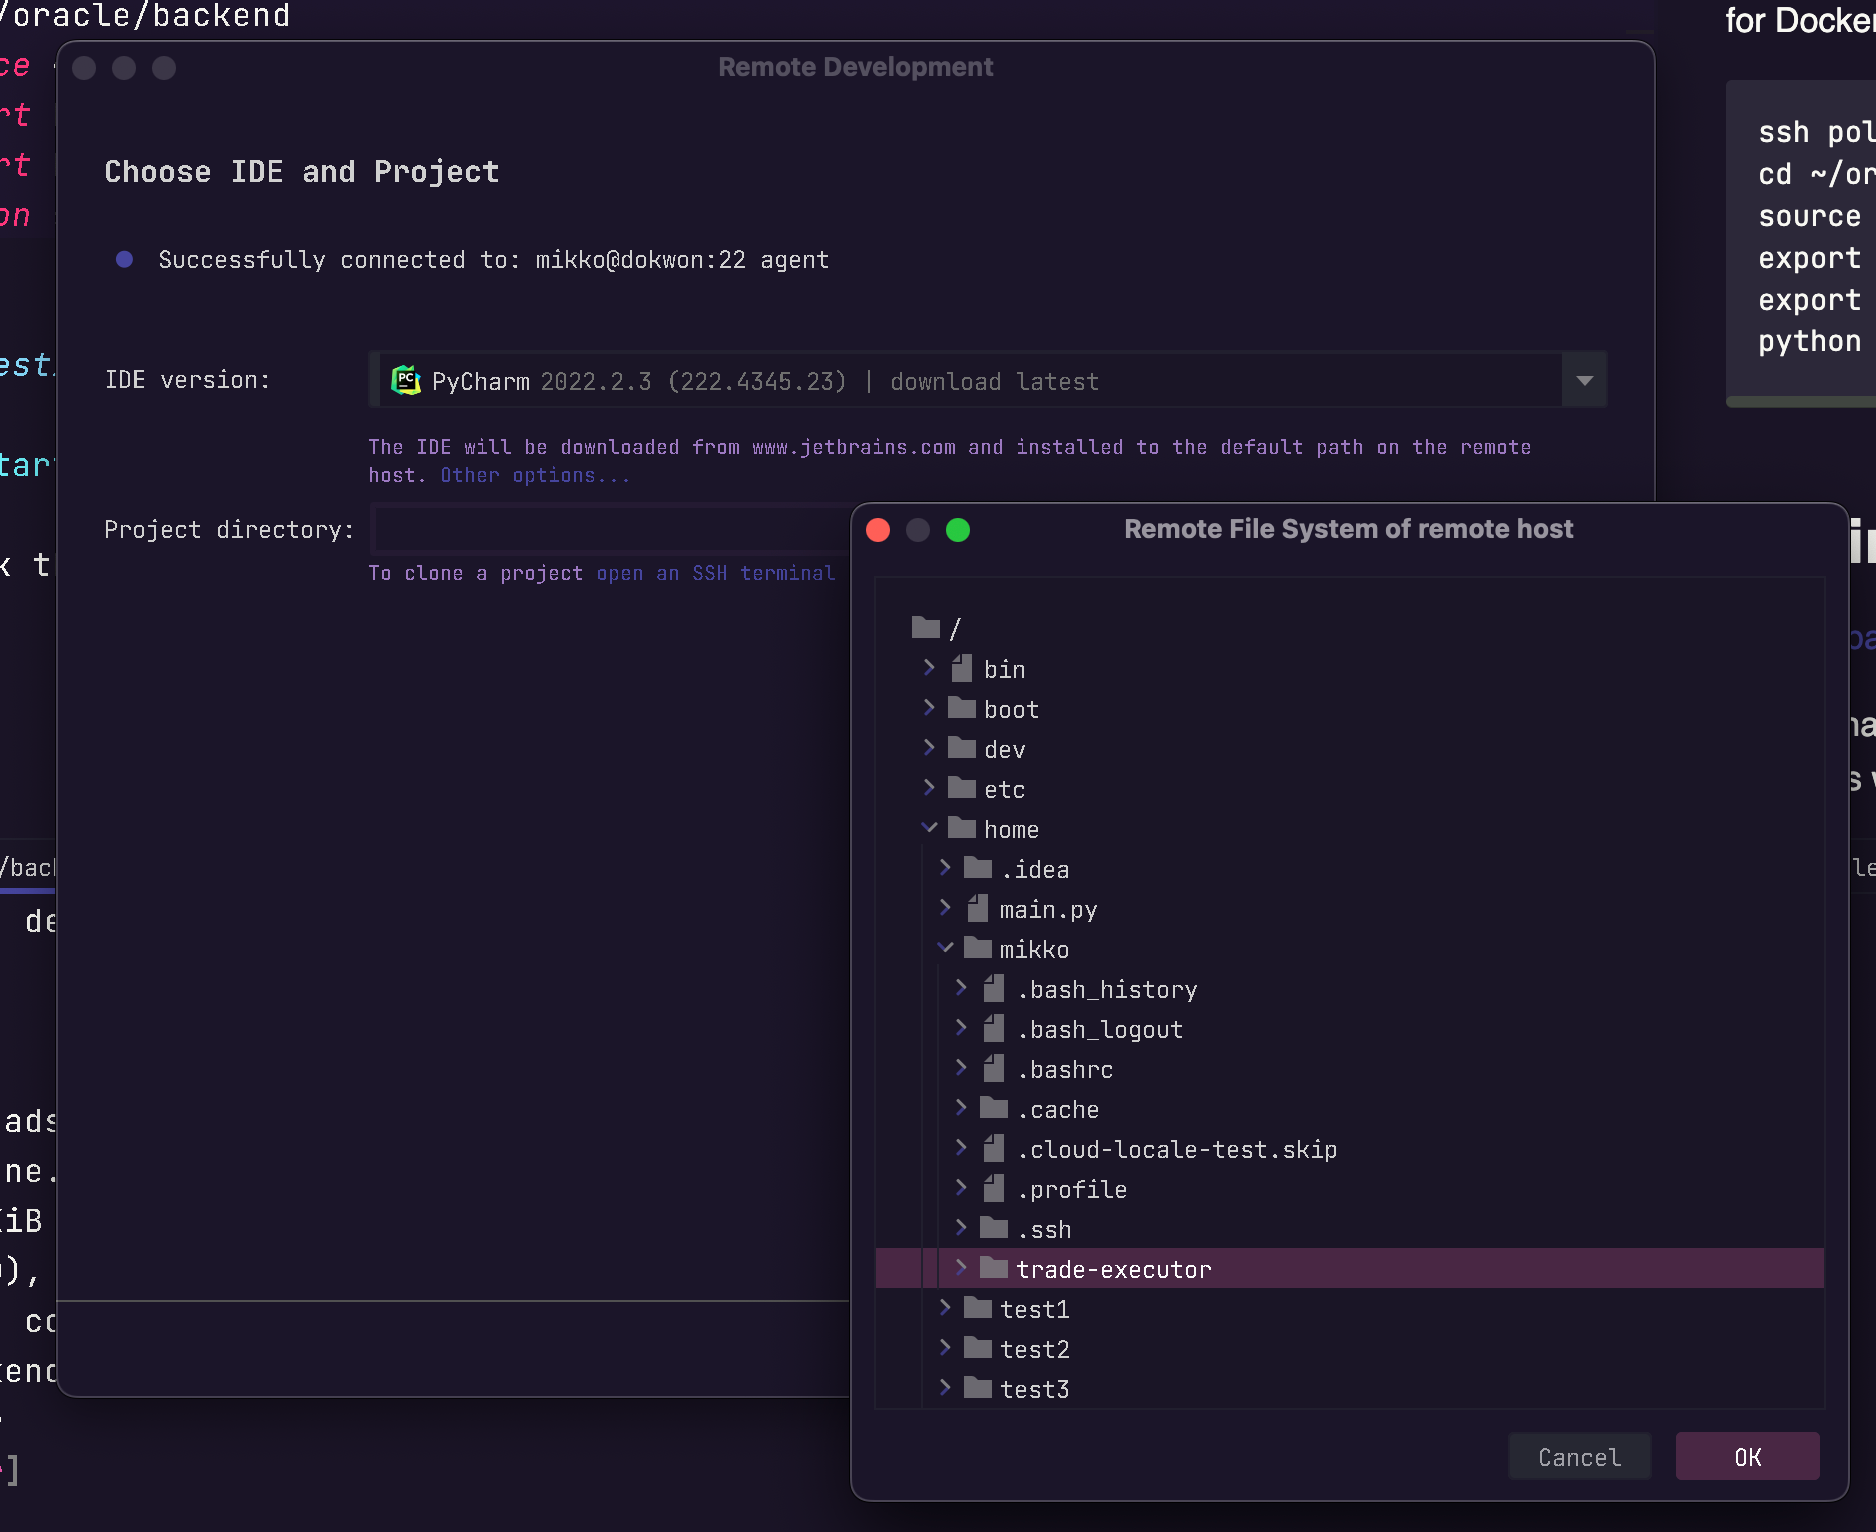
Now you can with Start remote.
- On macOS, PyCharm requires the root password of your local laptop
- PyCharm will download and drop an agent on the remote server ("JetBrains client")
- Local PyCharm instance will open a new workspace window in the remote development mode
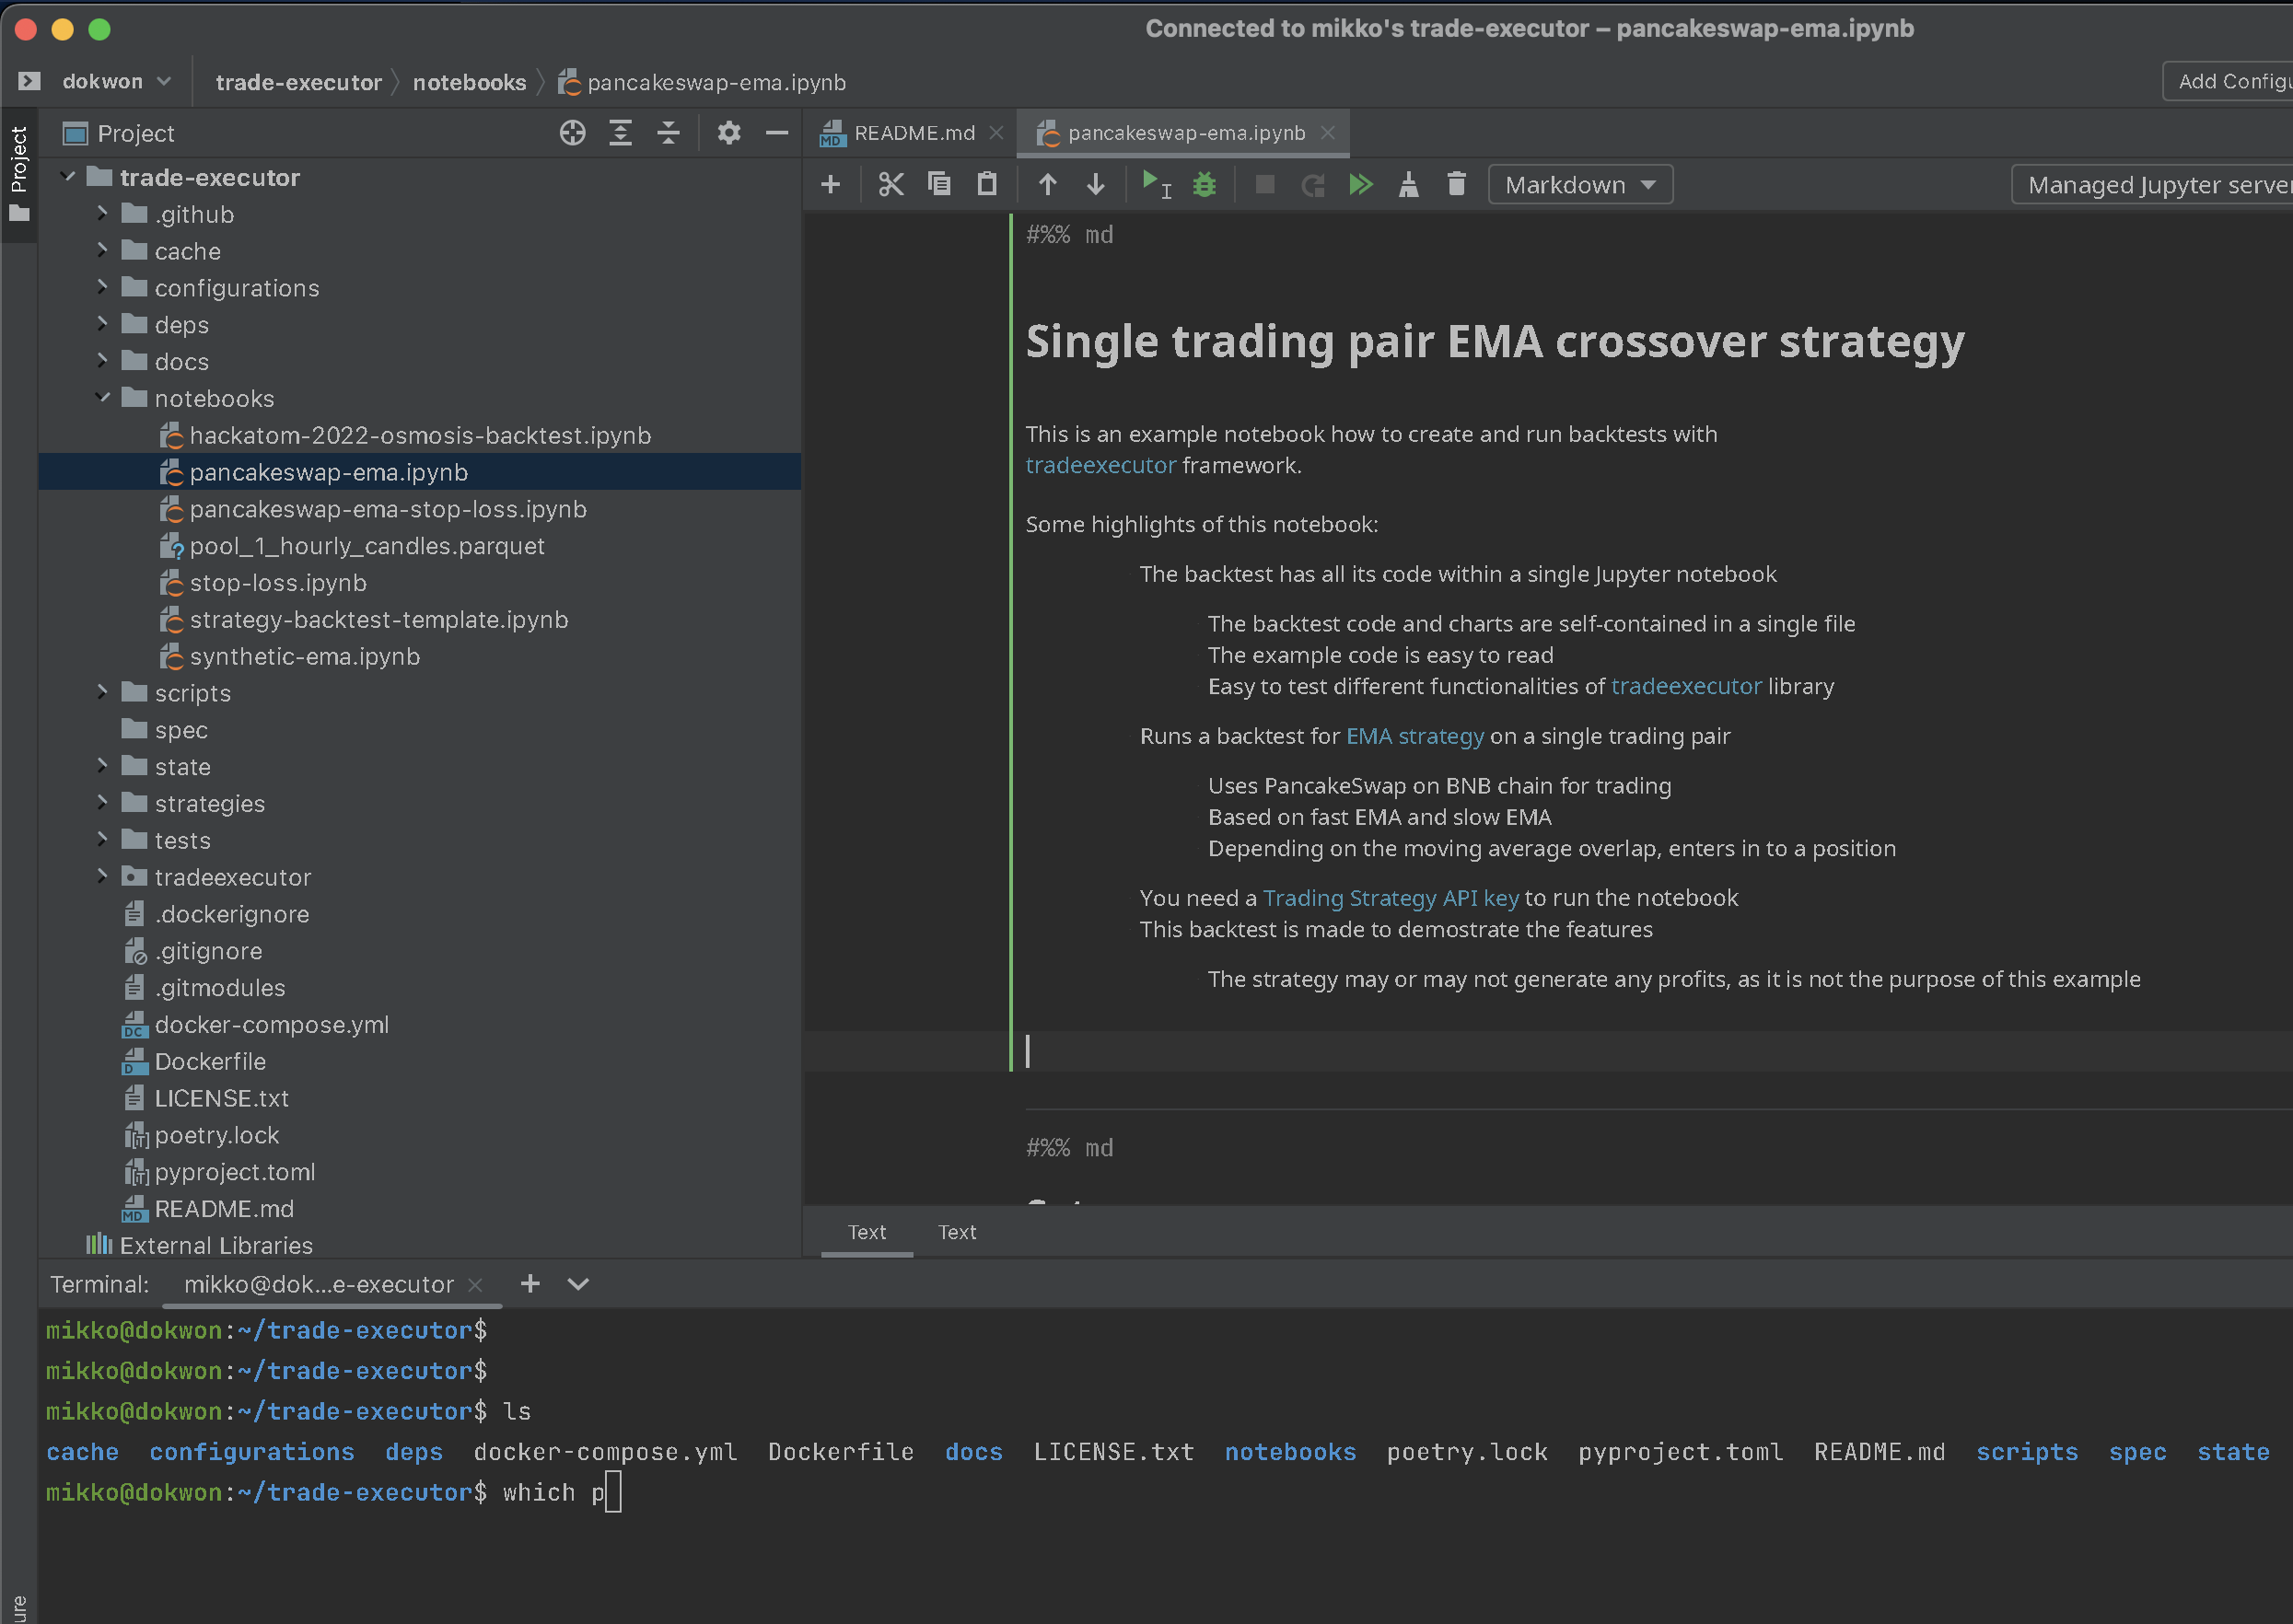
Using Remote desktop in PyCharm
Now you can use PyCharm on the remote server as it was your local computer
- Project outline shows the tree of the remote server
- Terminal window opens a remote terminal instance
You need add a Python interpreter to run your notebooks. Note that this interpreter needs to be "local" when you are working on remote development.

You also might need to install jupyter command explicitly if it is not in your project dependencies: pip install jupyter.
Open issues
Unfortunately in the current PyCharm version remote notebook development does not work. PyCharm has still kinks to figure out.
Note this issue is a showstopper and currently using the PyCharm Remote development feature for Jupyter notebooks is not practical. You need to wait for a future patch to start with remote development.