Visual Studio Code Dev Container for Jupyter Notebooks#
The Trading Strategy Dev Container is a pre-made development environment for quant finance research in decentralised finance using Visual Studio Code. It offers tools to analyse DEX market data, research and backtest trading strategies.
Microsoft Visual Studio Code is a
popular editor for Jupyter notebooks. Dev
Container
is a Visual Studio Code feature to easily distribute ready-made
development environments to users. Visual Studio Code comes with
powerful editing features for Jupyter
Notebooks, a programming file format for data
research. Dev Containers work on any operating system (Windows, macOS,
Linux). Dev Container users a special .devcontainer configuration
format in supported Git repositories.
Trading Strategy Dev Container combines
Trading Strategy framework and libraries
Ready set up Python environment with correct Python interpreter and Jupyter Notebook kernel
Visual Studio Code plugins and settings needed to run and edit these notebooks, saving them to your local disk
Example notebooks ready available in the project explorer
Apple Silicon (Macbook M1) friendliness
You can find the related .devcontainer files and Dockerimage on Github.
Prerequisites#
Existing basic knowledge of Python programming, Jupyter notebooks and data science and trading
The set up will download 2 GB+ data, so we do not recommend to try this over a mobile connection
Setting up Visual Studio Code#
Install the Dev Containers extension within Visual Studio Code
Checkout the repository from Github#
After you are done with the local software installation steps above, you can check out the repository using Visual Studio Code.

Press F1 to bring up the command palette (fn + F1 on Macs)
Choose Git Clone and then from Clone from Github.
Paste in the repository URL:
https://github.com/tradingstrategy-ai/trade-executor.git.
It will now ask you for the destination folder on your hard disk. Choose
any folder name you like, e.g. my-fabulous-trading-strategy.
Note
Currently a recursive git clone is needed.
Visual Studio Code may not do a recursive clone, so you need to run the following command in the folder after the cloning is complete:
git submodule update --init --recursive
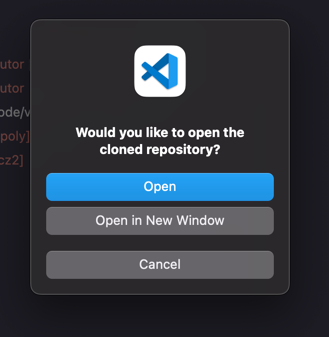
Open the folder after cloning is complete.
Start the Dev Container#
When the cloned Github project opens, you get a pop-up Reopen in container.

Click it and Visual Studio Code will build the development environment for you. This will take 2 - 15 minutes depening on your Internet connection speed.

You can also manually execute this action by pressing F1 to bring up
the command palette (fn + F1 on Macs) and finding Reopen in
container action.
Using the container#
After the container is started, open Terminal in Visual Studio Code (View > Terminal). Press New Terminal button to open a new terminal window within your Dev Cointainer.

Paste in the following command:
scripts/set-up-examples.sh
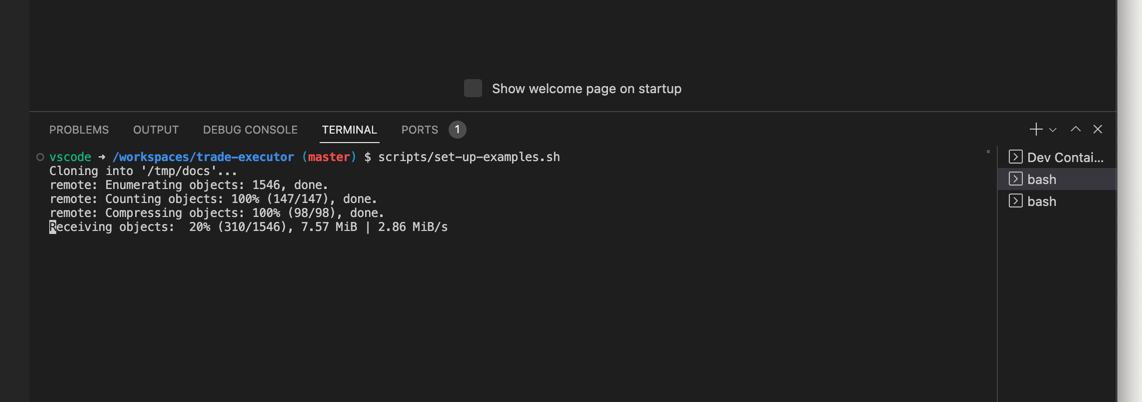
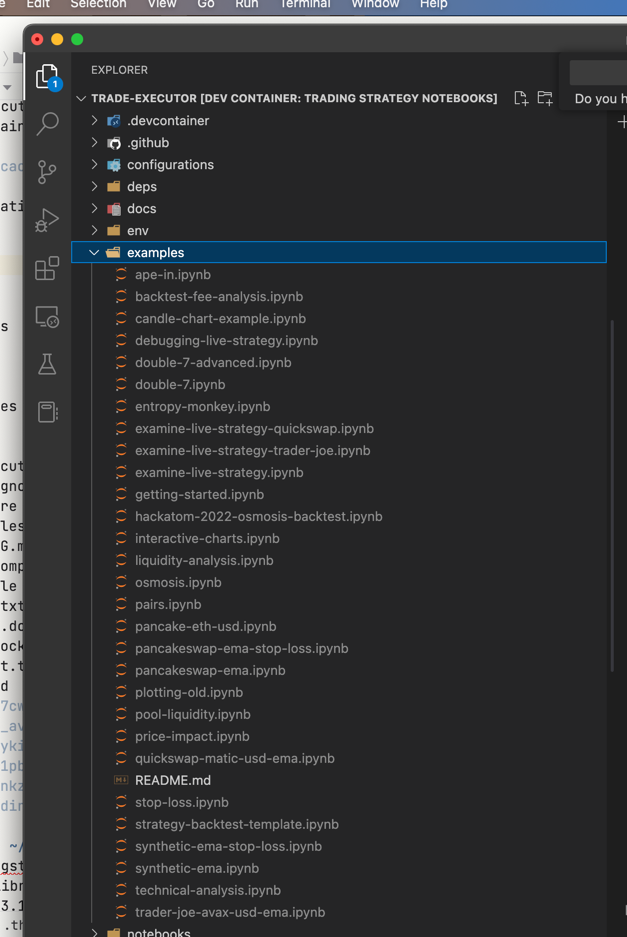
This will create examples folder and copies all example notebooks
from the Trading Strategy
documentation there.
Running an example notebook#
Here are short instructions how to edit and run example notebooks.
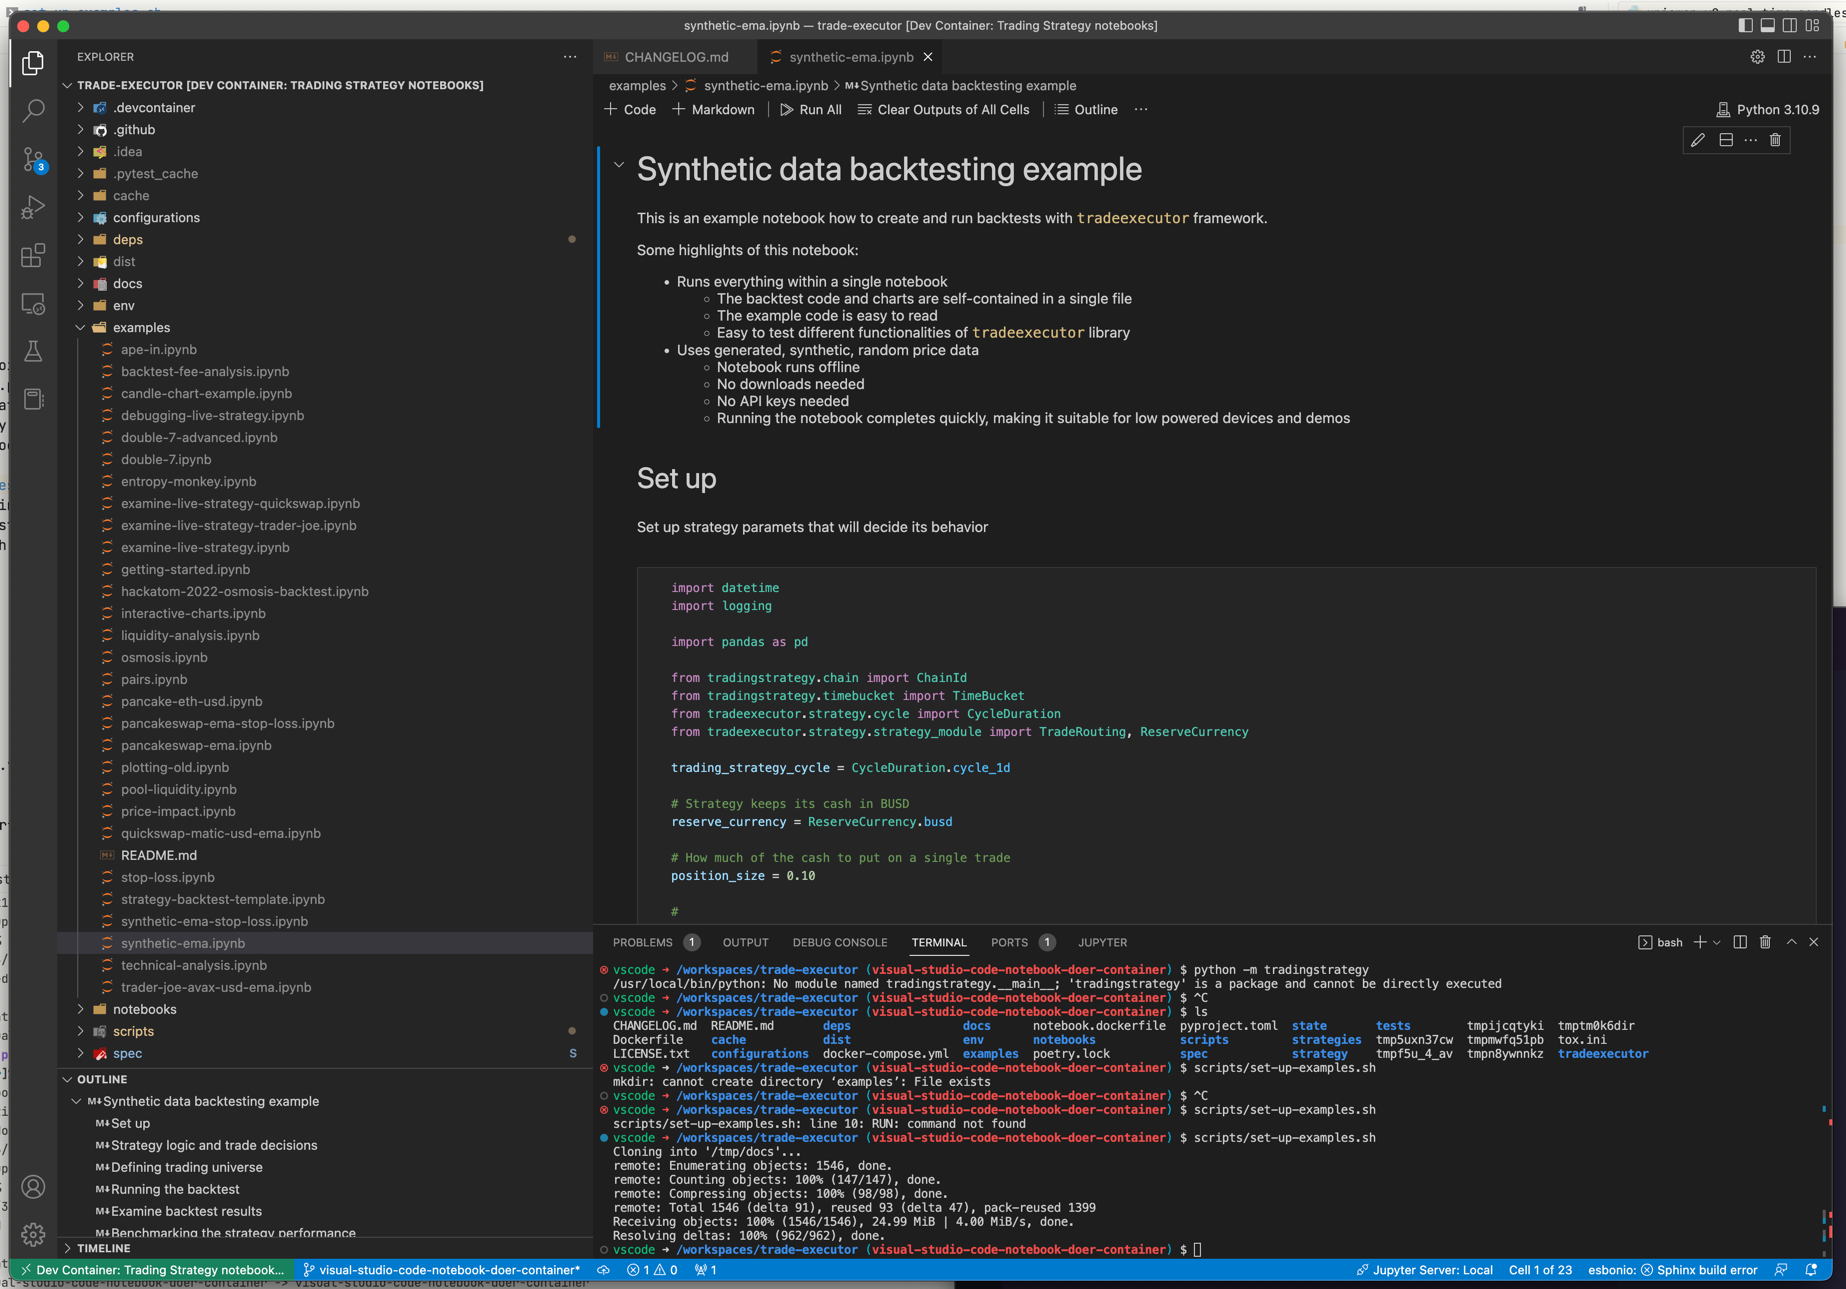
img.png#
Open examples/synthetic-ema.ipynb
Edit the backtesting period in the first code cell:
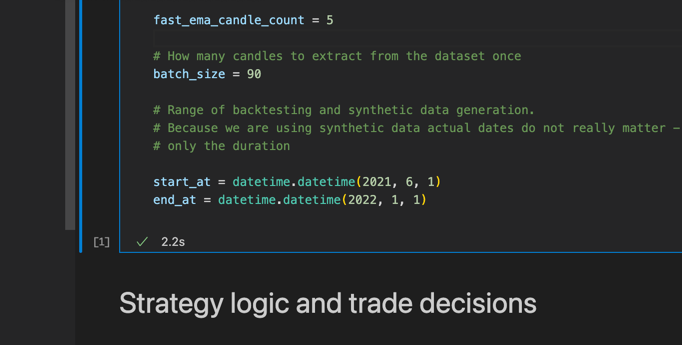
Set to
start_at = datetime.datetime(2022, 1, 1)
end_at = datetime.datetime(2023, 1, 1)
Then press Run all:

If you get prompted to choose between different Python versions,
choose one in /usr/local/bin.
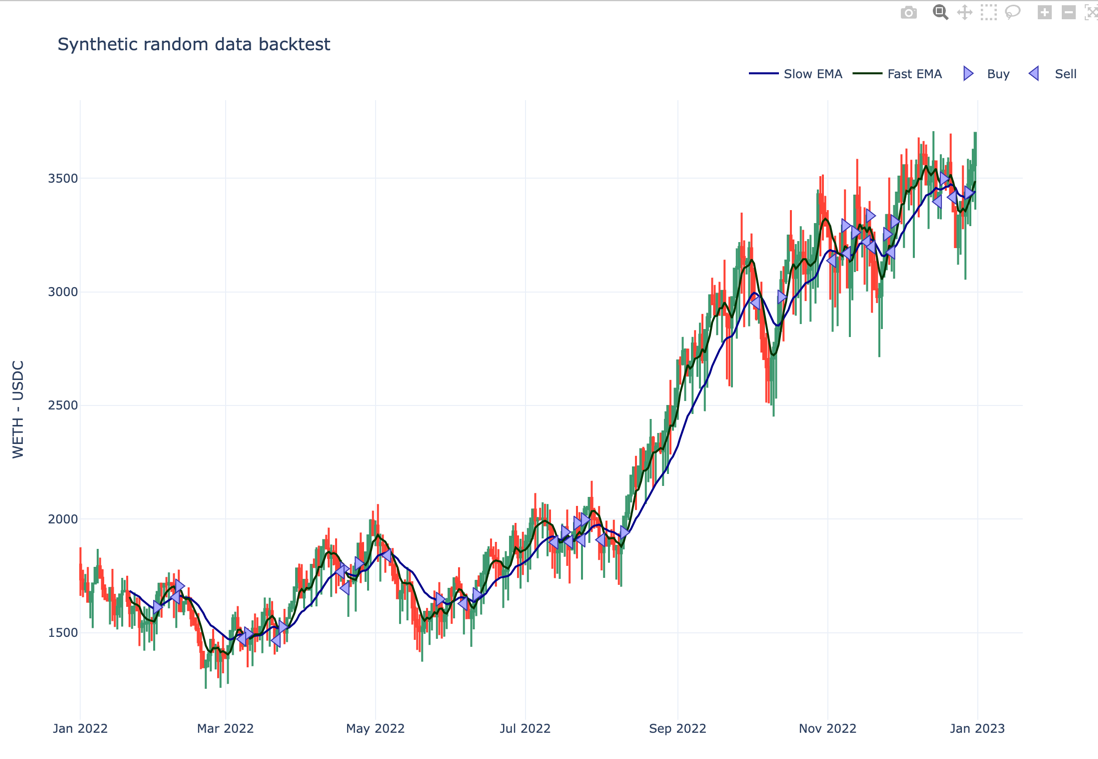
Now scroll to the bottom of the notebook and see you have updated results for 2022 - 2023:
Next steps#
Instead of randomly clicking example notebooks around, we suggest you start with Getting started documentation.
Using command line Python#
You can also use Dev Container environment as normal Python development environment.
If you open Visual Studio Code terminal and run python command it
comes with Trading Strategy packages installed.

Troubleshooting#
No space left on device error#
Make sure you clean up old Docker images, containers and volumes in your Docker for Desktop to reclaim disk apce.
Manual build#
Building the Docker image by hand:
docker build --file .devcontainer/Dockerfile .