Docker development image#
This option allows you to develop Trading Strategy notebooks and backtests using Docker based set up.
Preface#
The Docker development image option is similar to Local Python installation installation and Visual Studio Code Dev Container for Jupyter Notebooks.
Download and run a development image using docker command
Configure your IDE or other tooling to use Python interpreter and Jupyter Kernel inside Docker image
The development image option might be more suitable for Microsoft Windows users due to deficiencies in Microsoft Windows native development tooling
Is currently available for linux/amd64 architecture - for serious Apple M1 and M2 based development work we recommend Local Python installation installation if the code execution speed becomes an issue
Integrates very well with PyCharm IDE
Prerequisites#
You are familiar with Docker based development and have installed Docker for Desktop or similar for your local computer
Development image contents#
The Trading Strategy Docker development image:
Is tagged as ghcr.io/tradingstrategy-ai/trading-strategy-notebook:latest
Is hosted at Github Container Registry (ghcr.io)
Runs on Ubuntu 20.04 LTS
Comes with binaries prepackaged, same as Local Python installation installation
PyCharm instructions#
These instructions tell how to use the Docker development image with PyCharm
Running example notebooks
Configuring remote Jupyter kernel and Python interpreter
Start a new project#
Start a new PyCharm Python project.
It does not matter what options you choose in this point.
Getting example notebooks#
To get the access to the example notebooks, you need to clone the documentation repository within your project.
The command line checkout for the docs folder is:
git clone https://github.com/tradingstrategy-ai/docs.git
You can find examples in docs/programming/code-examples and docs/programming/strategy-examples.
Lauching Docker based Jupyter kernel#
To launch a Jupyter server you can open Terminal and enter:
docker run \
    --platform linux/amd64 \
     -p 127.0.0.1:7777:7777/tcp \
    ghcr.io/tradingstrategy-ai/trading-strategy-notebook:latest \
    jupyter server \
    --ip "*" \
    --port 7777 \
    --allow-root
When the server starts you need to copy its token URL from the console output:
To access the server, open this file in a browser:
    file:///root/.local/share/jupyter/runtime/jpserver-1-open.html
Or copy and paste one of these URLs:
    http://localhost:7777/?token=1b0a9224695f1397fe914c1ca6411dc4f2bb8ad29fb8a1bf
 or http://127.0.0.1:7777/?token=1b0a9224695f1397fe914c1ca6411dc4f2bb8ad29fb8a1bf
Note
We bind to port 7777, as PyCharm or something else might run its default server at localhost:8888. Also Jupyter Server is not designed to be run as a Docker, so we pass –allow-root
Adding remote Jupyter kernel#
Open docs/programming/code-examples/getting-started.ipynb.
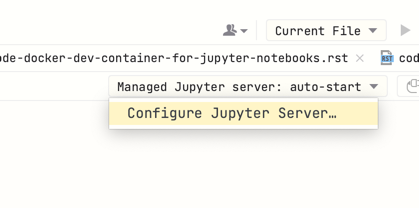
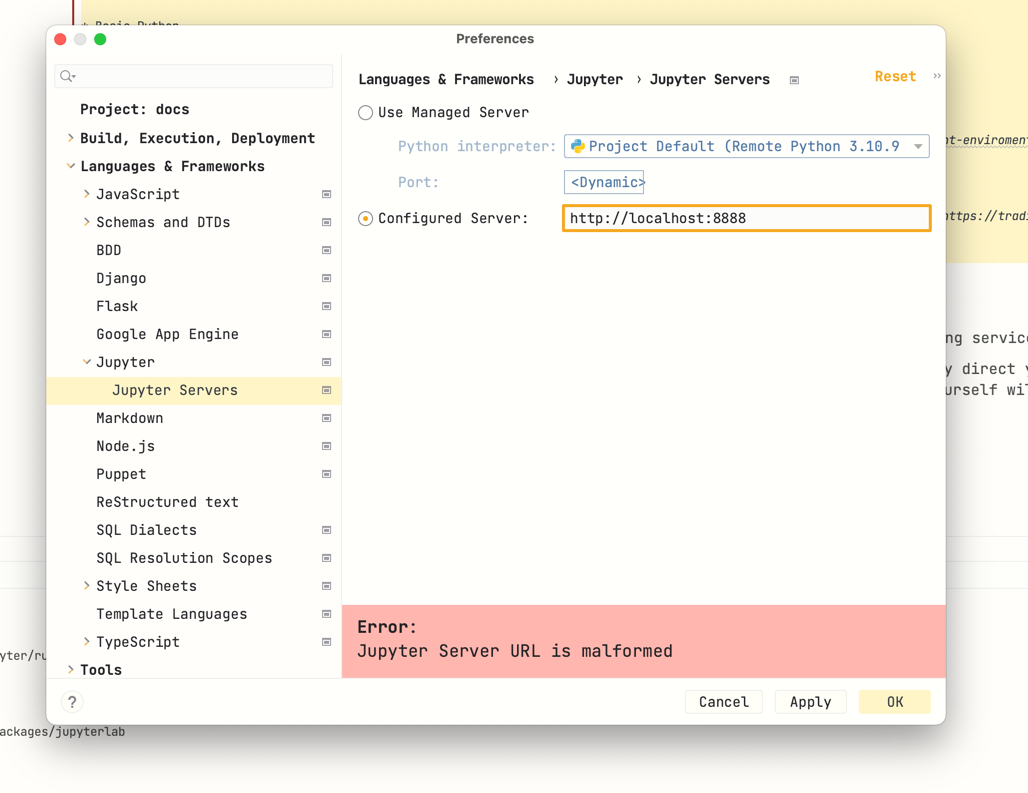
Then paste the URL you received earlier from the console to Configured server in Jupyter configuration.
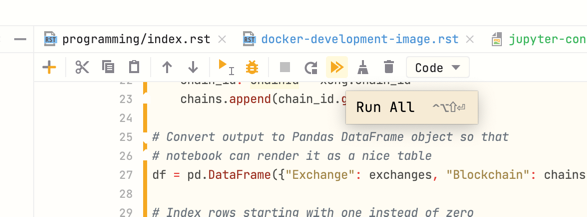
Then press Run all.
Note
When running Trading Strategy client enabled notebook for the first time, you will be interactively prompted for Trading Strategy API key or a registration for it.
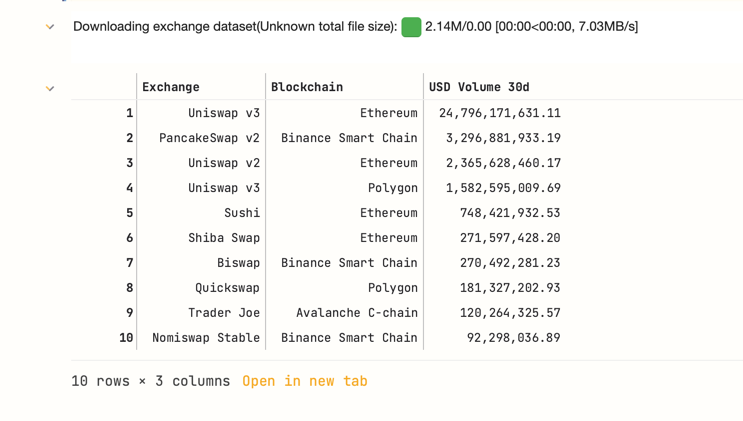
The example notebook should now run and display you the latest exchange volumes at the end of the notebook.
Add Docker based Python interpreter#
You might need to add a remote interpreter to get code autocompletion support for Jupyter notebooks.
Note
TODO: The needs for this stpe still confirmed with a fresh PyCharm setup.
This section is relevant if you want to run Python scripts, as opposite to notebooks, using trade-executor interpreter in PyCharm.
To get up to the speed start by adding a new Python interpreter that is Docker based.
Add new interpreter is at the bottom right corner of PyCharm.
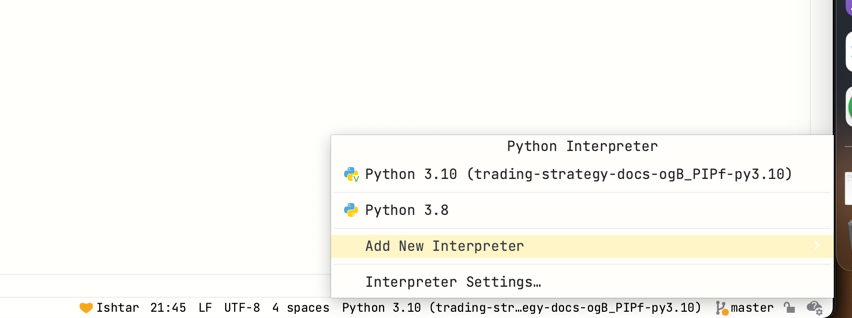
Choose On Docker.
Then Image: pull.
For Image enter ghcr.io/tradingstrategy-ai/trading-strategy-notebook:latest
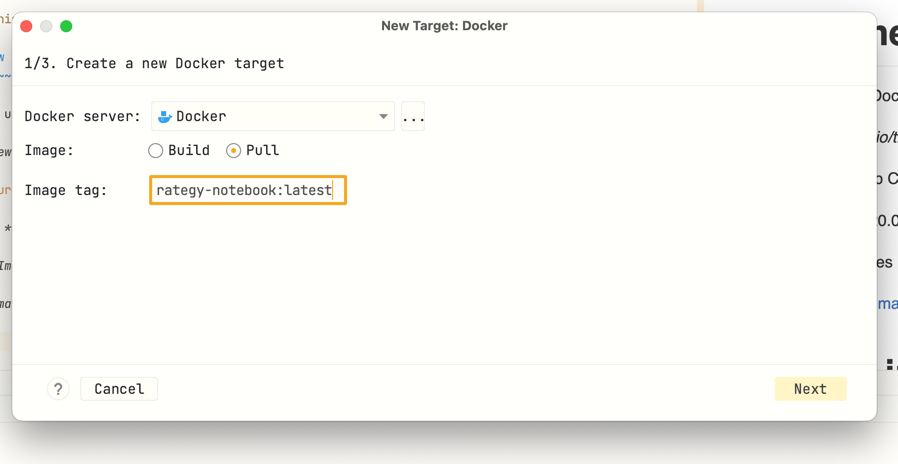
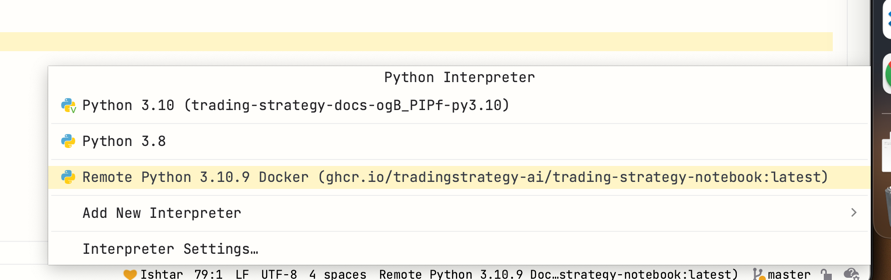
Click through the installation wizard.
Thw new Python interpreter will show up as a remote interpreter.
Troubleshooting#
If you get port bind errors check if you are already running containers.
docker ps
CONTAINER ID   IMAGE                                                         COMMAND                  CREATED          STATUS          PORTS                      NAMES
57c4c6c9a7ae   ghcr.io/tradingstrategy-ai/trading-strategy-notebook:latest   "jupyter server --al…"   44 seconds ago   Up 43 seconds   127.0.0.1:7777->8888/tcp   pedantic_swirles
f9f402ebc39e   ghcr.io/tradingstrategy-ai/trading-strategy-notebook:latest   "jupyter server --al…"   11 minutes ago   Up 11 minutes   127.0.0.1:8888->8888/tcp   cool_spence
Then kill them with docker rm:
docker rm -f 57c4c6c9a7ae
Next steps#
See code examples.